Photographing a Certificate Ceremony: Lessons, Mistakes and Pro Tips
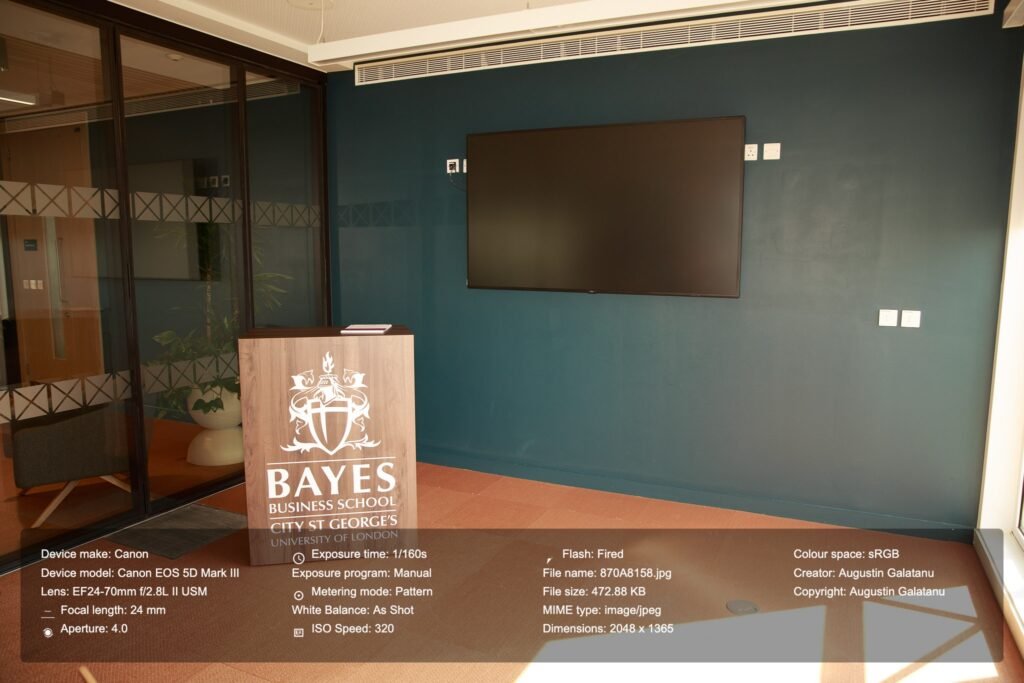
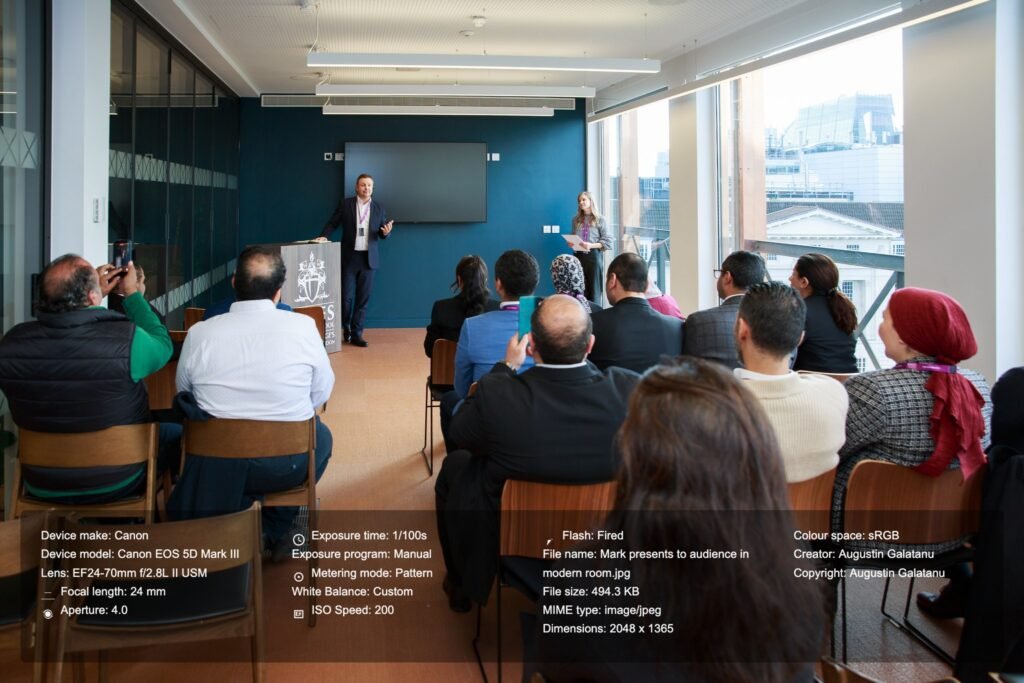
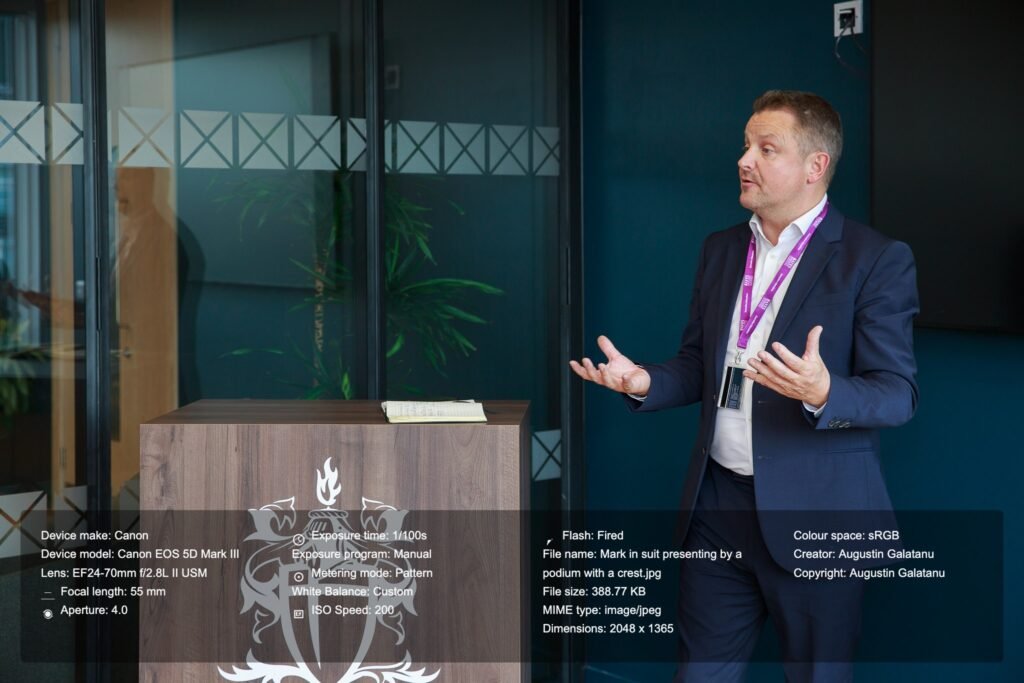
Recently, I was commissioned to photograph a certificate ceremony at Bayes Business School in London. Upon arrival, I was escorted to the seventh floor, where the executive lounge is located. After 4pm, the sunlight remained strong, casting noticeable shadows across the room, which presented a challenge from a photography perspective.
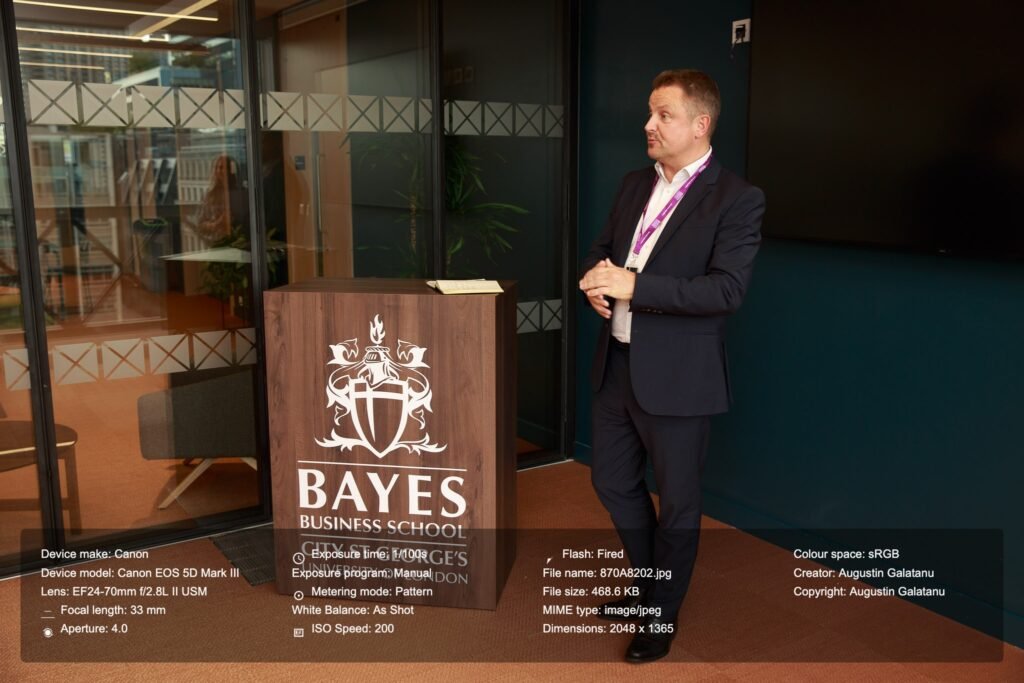
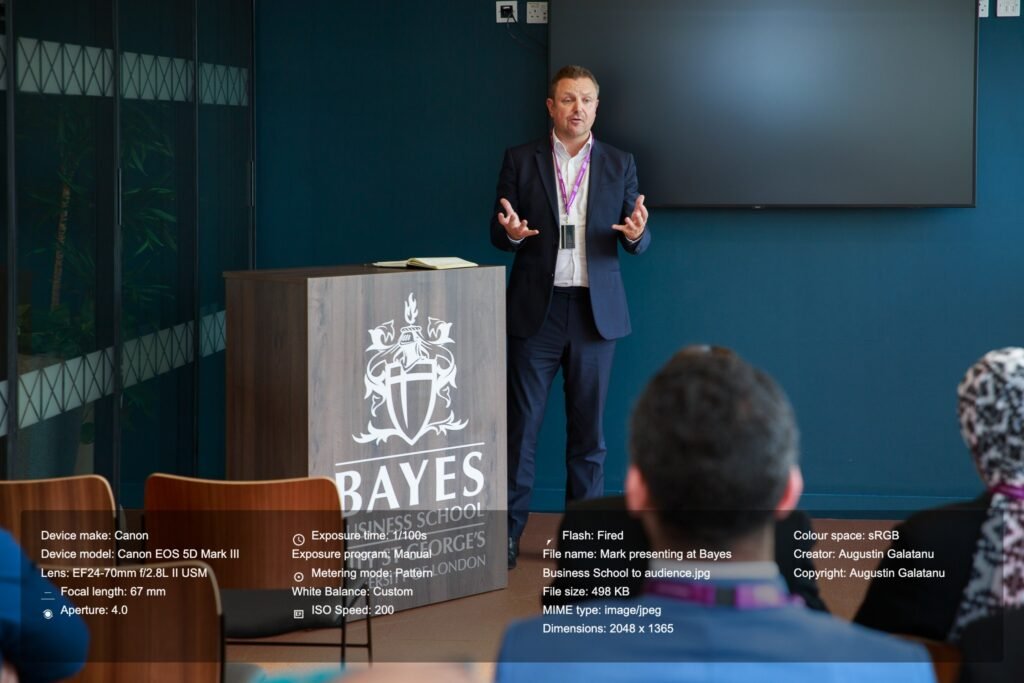
At the front of the room was a branded Bayes Business School podium and a large screen on the wall. The screen was turned off but highly reflective, creating further difficulties for capturing clear images.
Additionally, the arrangement of the chairs limited my positioning options, as I could not position myself without obstructing the delegates’ view.
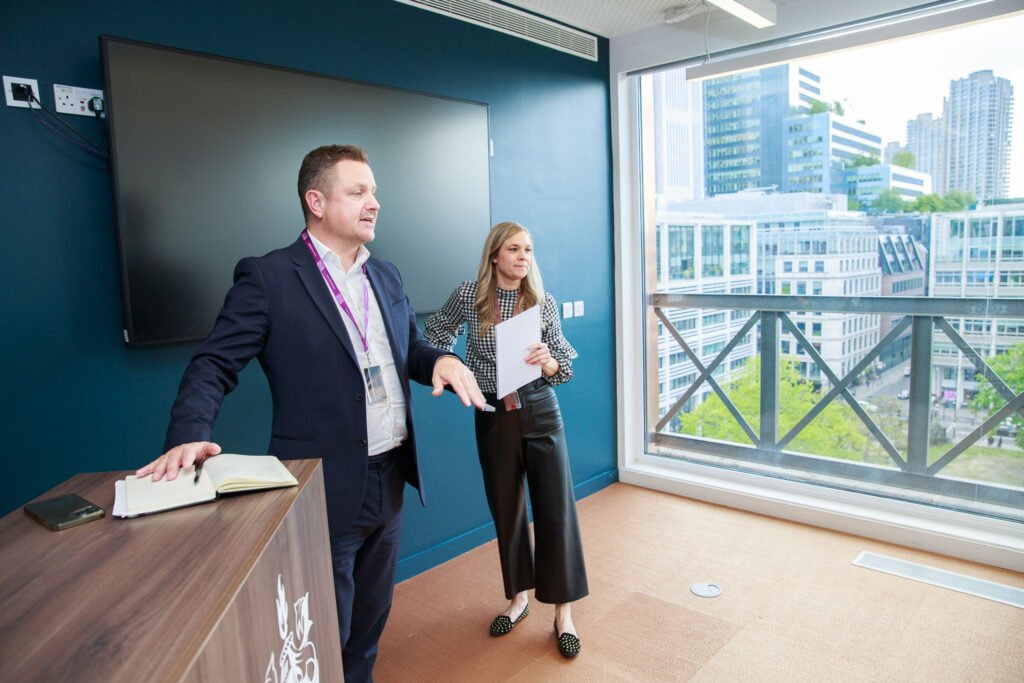
I had a few minutes to consider alternative solutions. Instead of proceeding directly, I chose to frame the shot by placing the podium in one corner of the frame and the screen in the opposite corner. To achieve this, we rearranged a few chairs and rotated the podium accordingly.
Following a series of test exposures, I determined the optimal camera settings with the blinds in both raised and lowered positions. However, once the ceremony commenced, the sun was obscured by a cloud, necessitating rapid adjustments to the settings.
An additional critical step involved capturing an image of a colour calibration chart to facilitate accurate white balance adjustment during post-processing.

Ultimately, these were the configuration settings I used.
Focal Length: Variable from 24 to 70 – this is where a fixed aperture lens comes in handy. You can zoom in and out while maintaining the same aperture.
Aperture: f4 – I could have chosen f2.8, but I did not want any of the subjects to be out of focus. Choosing fF4 allows me to gain another full stop of light, meaning I could have reduced the ISO from 200 to 100 or increased the shutter speed from 1/100s to 1/200s.
Shutter Speed: 1/100 – This shutter speed is double my lens’s focal length, which should be sufficient for non-moving subjects + flash firing.
ISO: 200 – This ISO is not optimal, but considering the situation, it is the next best option.
Usually, I aim for visually similar ambient light to be reflected in the photo and for a subtle light from the flash on the subject’s face without impacting the background too much, if possible. I look for overexposed areas and try to avoid having them in the picture. An overexposure highlight warning, which you see on the back of the camera, means that your white area is beyond the limits and details cannot be recovered. However, if shooting RAW, is not always the case, and you might get away with 1–2 stops of overexposure. Sometimes, a light can be too bright and detail recovery is impossible, and that’s alright – for example – the sun is too bright, and the camera sensor can’t record the full range of light (dynamic range) so best expose for the scene and let the sun overexposed, if in the frame.
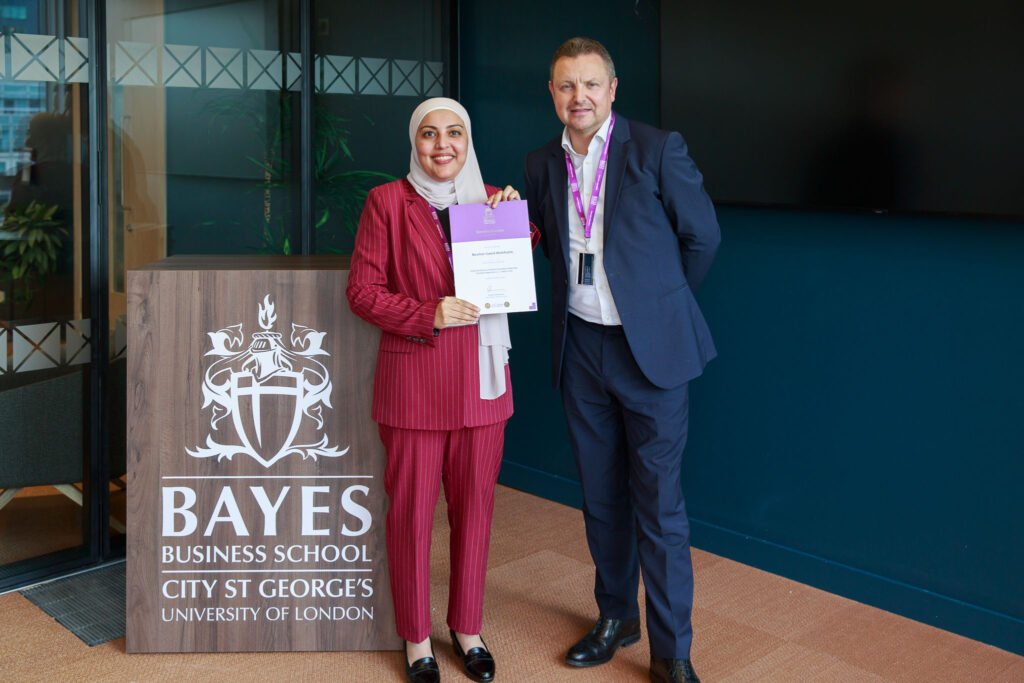
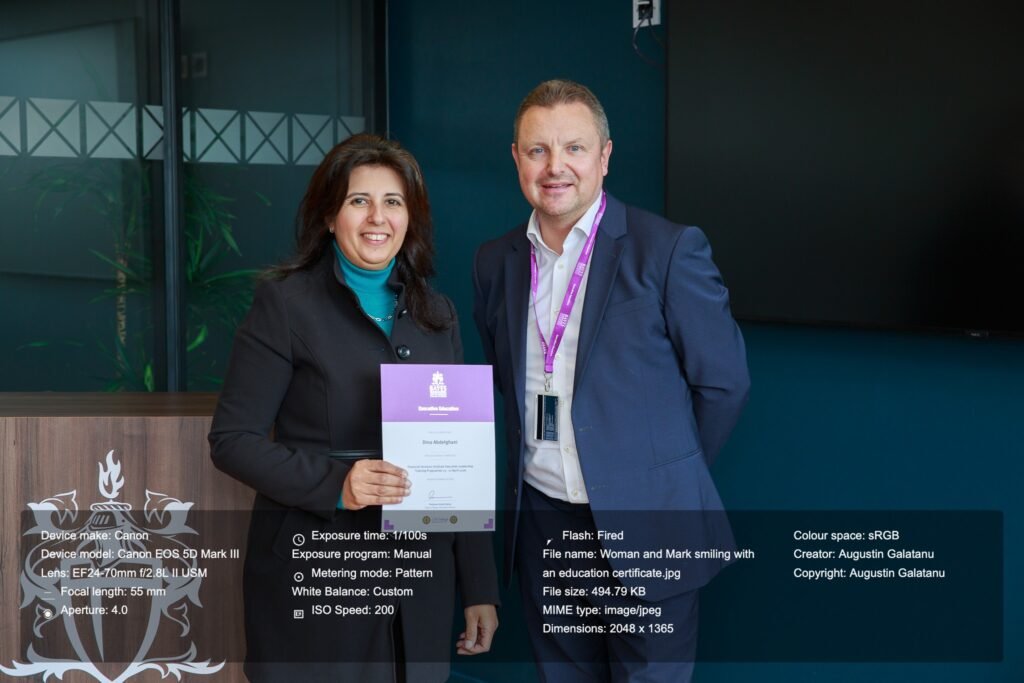
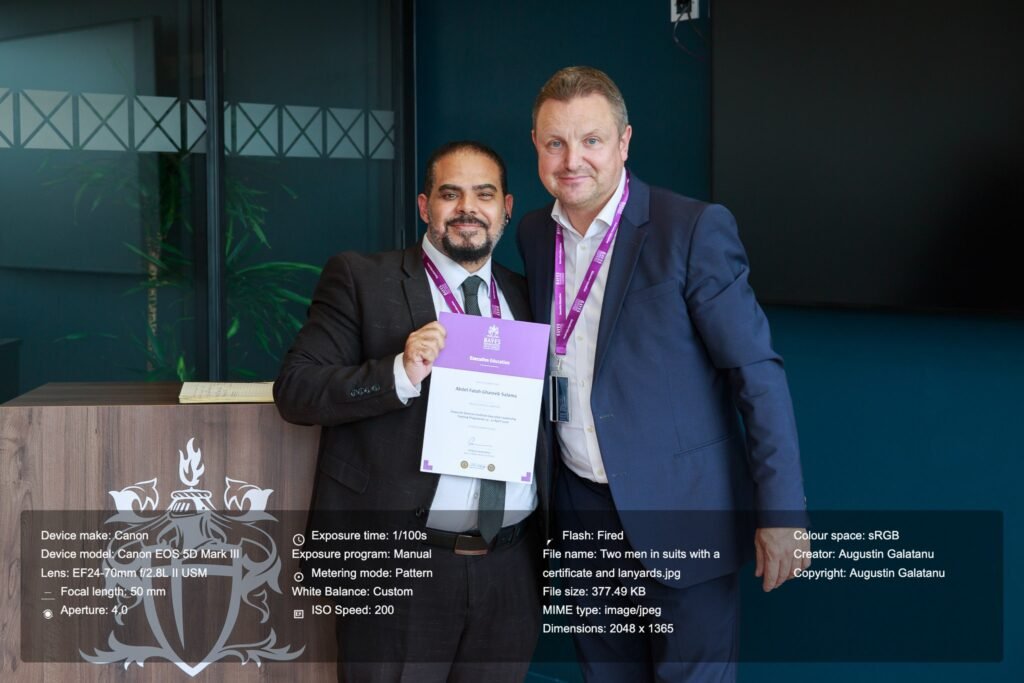
The same applies to a white sheet of paper, such as a certificate in this instance. It is important for the text to be legible, so ensure that the white portion is not overly overexposed.
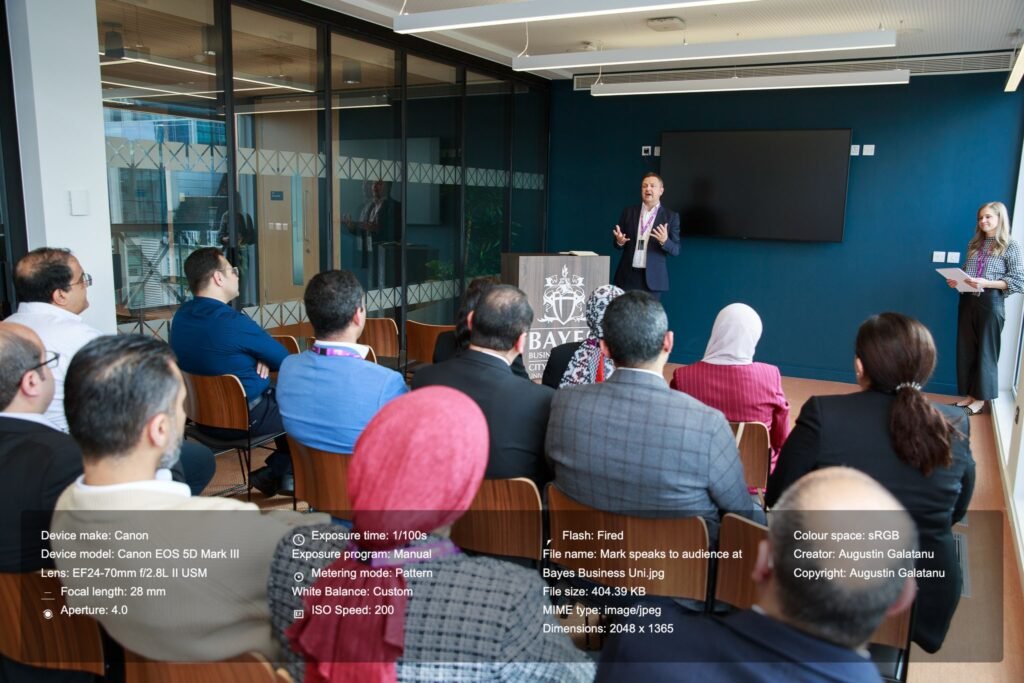
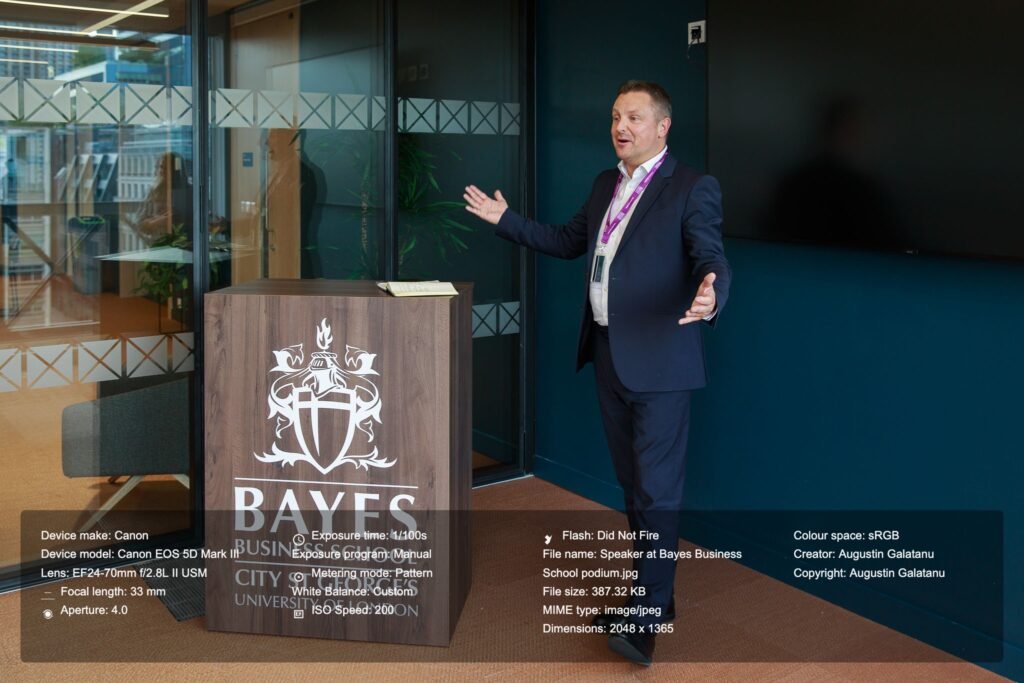
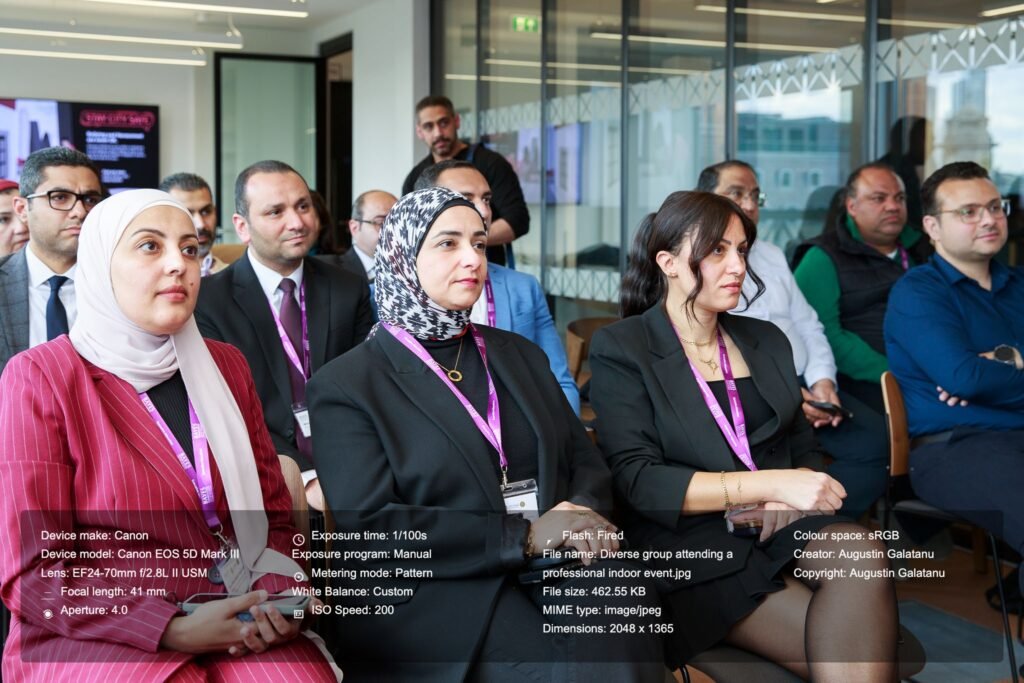
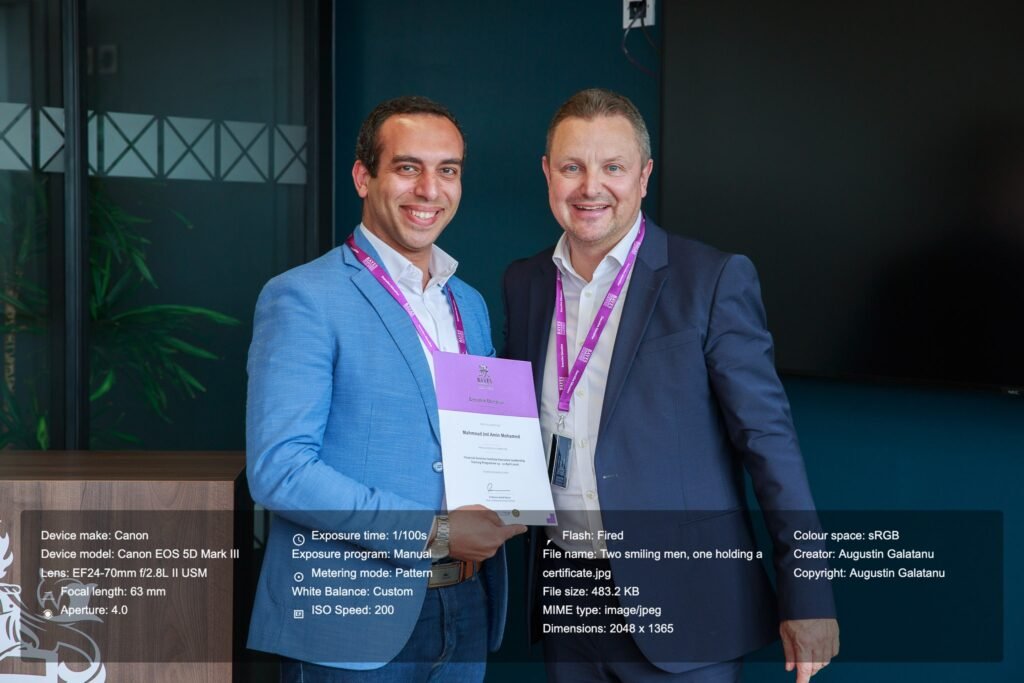
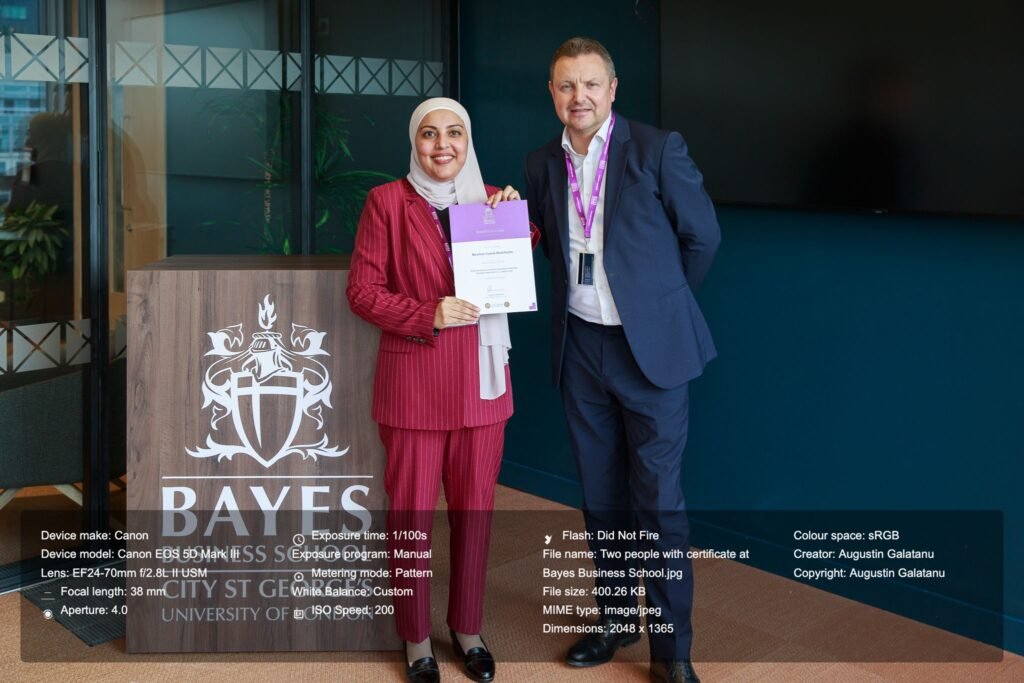
A useful suggestion when photographing the certificate presentation ceremony is to capture 2-3 images of each participant from the same angle, including medium, American, and wide shots. This approach ensures you have alternative options in case a participant blinks or the shot is not ideal. Additionally, during post-production, it is possible to “swap heads” using software similar to Photoshop to achieve the desired result.
Here are some photos I took.
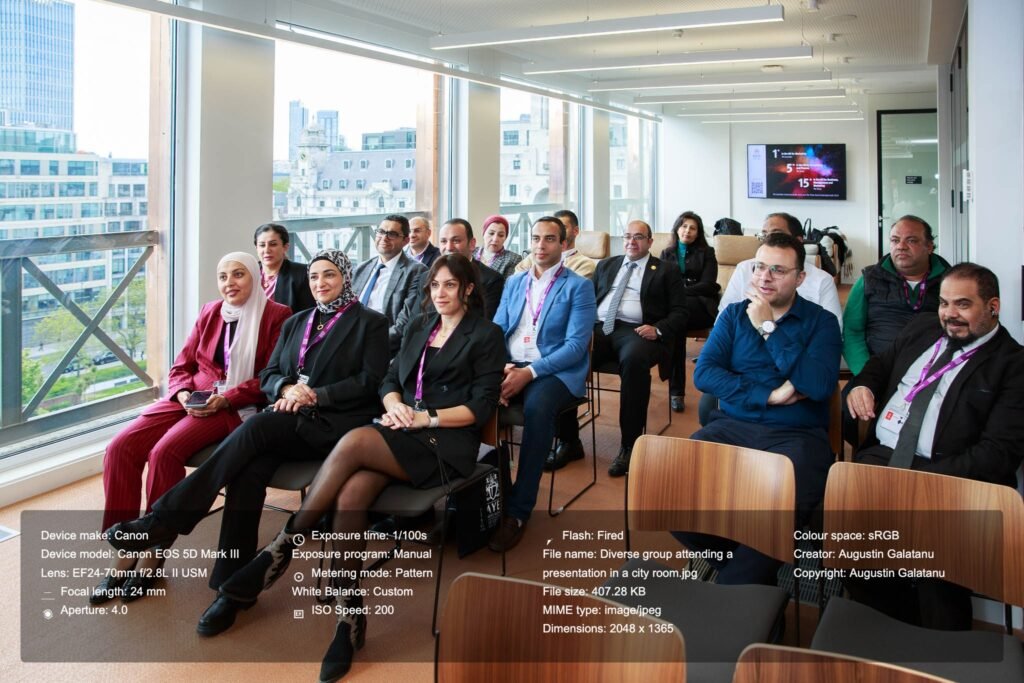
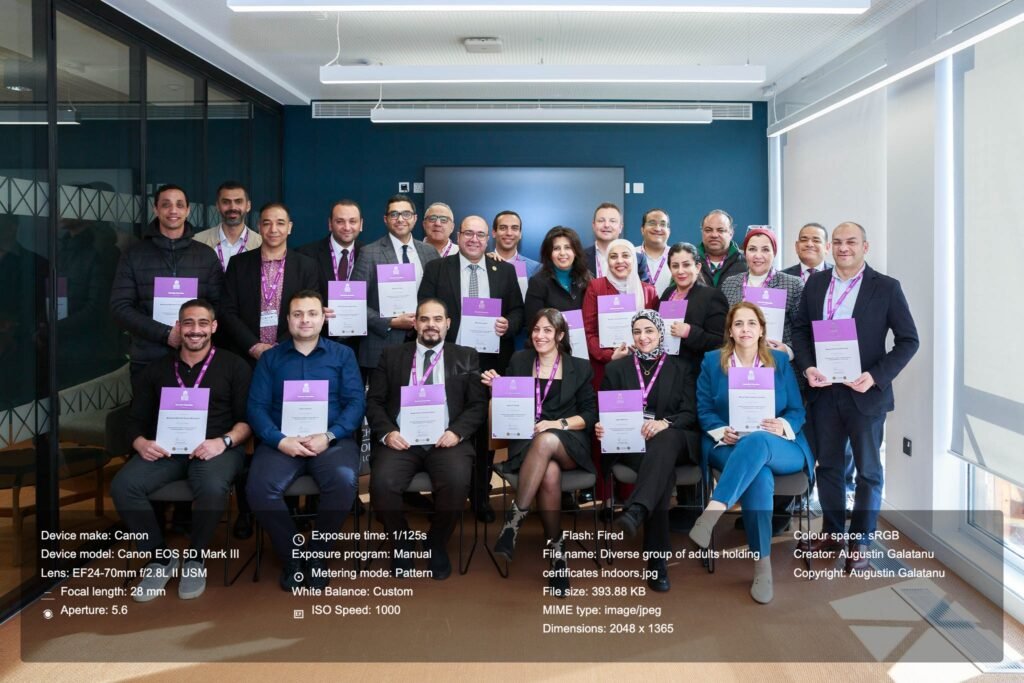
The ceremony was over, and it was time to take the usual group shot. We had discussed taking it outside the building on the stairs, but the client asked me if we can take it in the same room. I only had a few seconds to decide, so I pulled a few chairs and lined them up. I requested certain individuals to take a seat, while the remaining attendees positioned themselves behind the initial row. I needed to rearrange a few delegates to achieve a balanced composition and adjusted my camera settings accordingly, considering the presence of three layers of individuals and the lowered blinds, which resulted in reduced ambient light within the room.
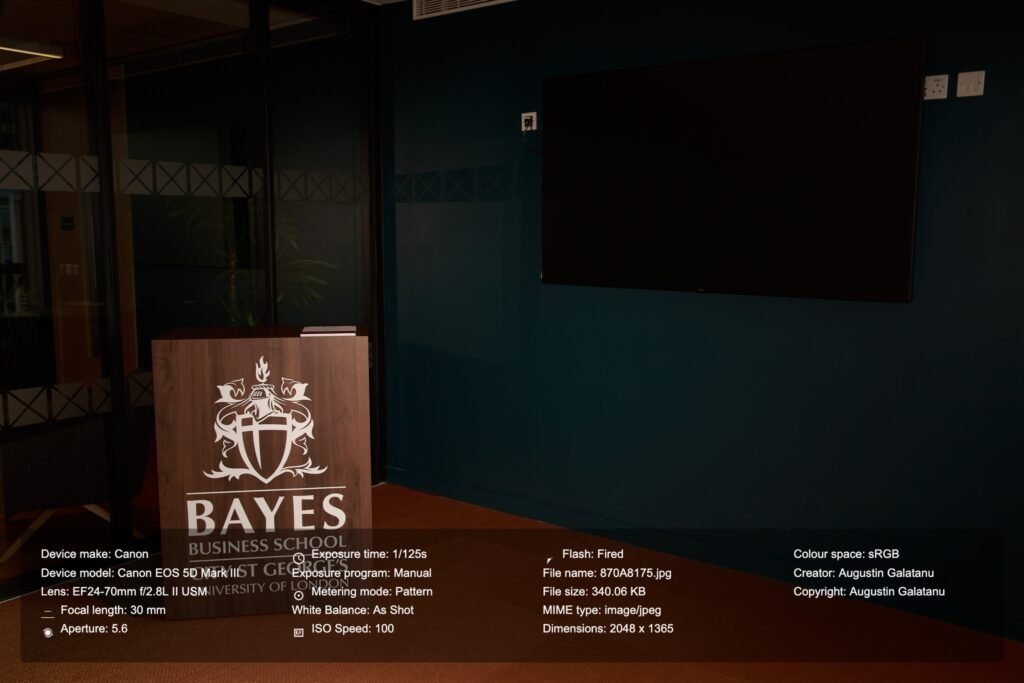
Below is one of the test shots. I adjusted the aperture to f/5.6 to ensure all group members are in focus, increased the shutter speed to 1/125 second to capture their expressions clearly and set the ISO to 1000 to compensate for the lack of ambient light. Additionally, please note that the flash did not fire during this shot, which accounts for the slightly underexposed image.

Here is the final group photo, white balanced and flash fired, as well as a short clip comparison before-after.
Lesson Learned
- It doesn’t matter how much you plan, be prepared for last-minute changes and adjust accordingly. This is where experience shines through. Being able to remain calm and handle the issue at hand greatly helps in coming up with a solution, often better than doing nothing.
- Do not be afraid to communicate the issues you face when about to take photographs. After I explained that I did not have enough room to stand and capture the shots without blocking the delegate’s view, obtaining a reflection on the TV screen in the room, or having the sun cast through the window so strongly that I could not compensate for it and the photos would not look as good, they kindly agreed to help me move the chairs around and assist me in positioning myself for the best results.
- Use any tools and accessories that might improve the final photos or make editing easier afterwards. I used a colour checker for photography and a MagMod diffuser for my flash. The colour checker helped me achieve a proper white balance, and the MagMod helped diffuse the light, making it less specular and shiny.
- After approximately 100 images, the flash ceased firing consistently. Fortunately, this was not a major issue, as I captured similar shots when the flash operated correctly and was able to select the desired image. Nonetheless, this is an aspect I should monitor in future shoots. One potential solution is to utilise a Canon CP-E4 Compact Battery Pack.
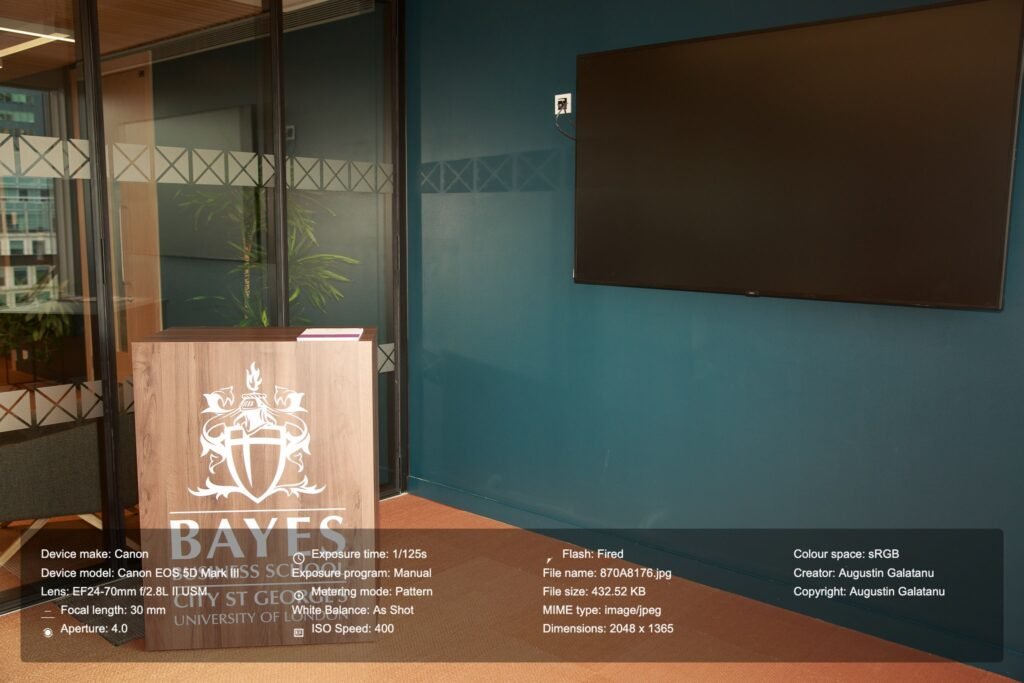
- Building on the previous point, I believe that utilising Exif data is valuable, and I am pleased that I developed this web application to superimpose the exif data on each photo.
- Another useful application I developed and utilised was the AutoNamer, which processed all the photos in batches and renamed them accordingly with the help of AI.
- Utilising older equipment is a considered decision, and there is currently no compelling justification for investing in the latest mirrorless system, given that the existing Canon 5D Mark III and Canon 24-70mm L lens continue to meet my requirements effectively.
If you are a fellow photographer, I would appreciate your feedback. If you are seeking an event photographer, please do not hesitate to get in touch.


You must be logged in to post a comment.
Leave a comment