How to photoshop a face onto another body (step-by-step and video)
If you prefer, you can watch the same tutorial on my YouTube Channel.
Following the Halloween spirit, I swapped my face onto my daughter’s body (and vice-versa) using Adobe Photoshop and if you want to achieve something similar, follow these steps:
Step 1 – Duplicate layer

Step 2 – Select the Lasso Tool

Step 3 – Make a selection around the face

Step 4 – Right-click and choose Layer via Copy

Step 5 – Rename layer

Step 6 – Make a selection around the second face
Step 7 – Right-click and choose Layer via Copy

Step 8 – Rename the second layer

Step 9 – Swap faces

Step 10 – Lower transparency to 50% and align the new face
Step 11 – Align the second face making sure the eyes lock

Step 12 – Add a layer mask

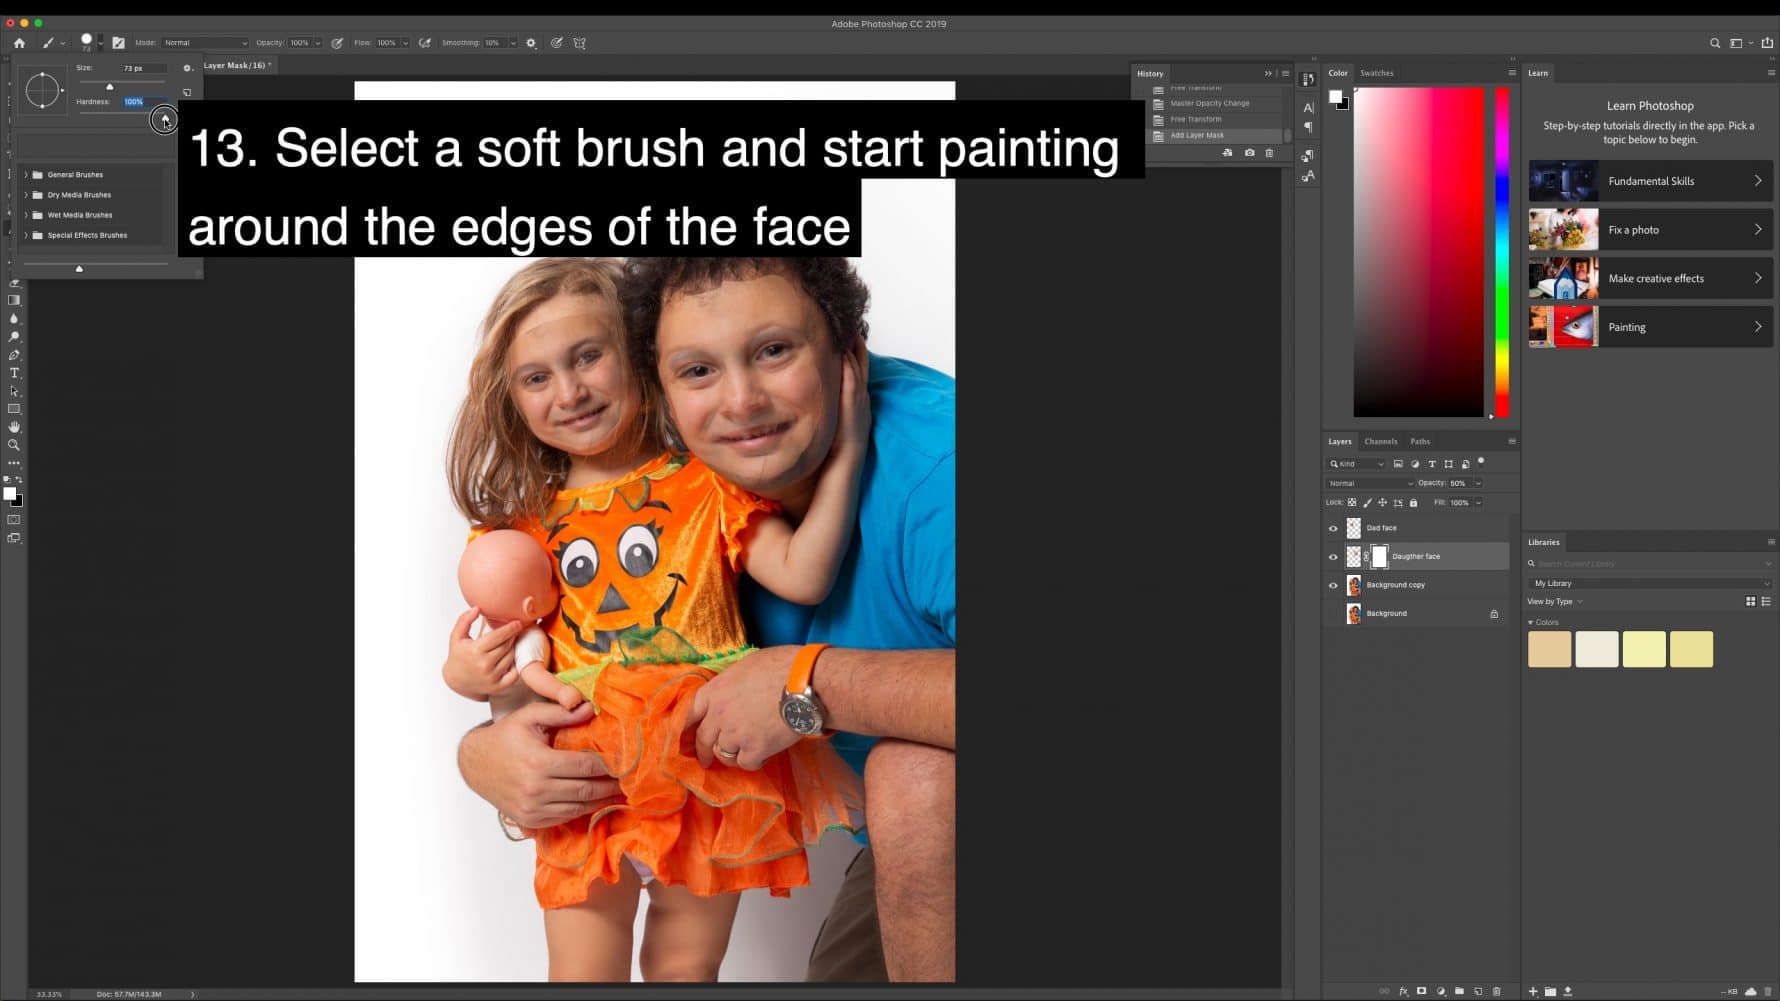
Step 13 – Select a soft brush and start painting around the edges of the face
Step 14 – Bring back the transparency to 100%
Step 15 – Select the mask again and continue painting with the soft brush

Step 16 – Switch between black and white to reveal or conceal the layer underneath

Step 17 – Create a layer mask for the second face, switch to BLACK and start painting around the edges

Step 18 – Adjust each face’ brightness levels using Curves

Step 19 – Use Spot Healing Brush or Clone Stamp Tool to retouch the image

Step 20 – Go to File/Export/Export as JPG

Bonus – Insert Happy Halloween graphics
Step 1 – Open Google and search for Happy Halloween Free

Step 2 – Add to Cart

Step 3 – Proceed to checkout

Step 4 – If you agree with T&C, tick the box, then Place order

Step 5 – If you forgot to add an email address, this is a reminder

Step 6 – For the purposes of this video, I will use 10minutemail.net

Step 7 – Download *.zip

Step 8 – Open the image in Adobe Photoshop

Step 9 – Drag into the main image

Step 10 – File/Export/Export as JPG
Use Free Music from YouTube’s Audio Library
Step 1 – Go to YouTube Studio (beta)

Step 2 – Go to Other features and choose Audio Library from the drop-down menu

Step 3 – Choose Attribution not required

Step 4 – Filter the results by Genre/Mood/Instrument/Duration

Step 5 – Search a particular kind of music

Step 6 – Browse and download free music for your project

Create a Free Thumbnail with Canva.com
Step 1 – Choose a YouTube Template and start editing

Step 2 – Change the name at the top

Step 3 – Upload your own photo or choose a free photo from the gallery

Step 4 – Adjust size and position

Step 5 – Highlight all key-words by changing their colour

Step 6 – Download your Thumbnail as a JPG

Import Music and Thumbnail in Adobe Premiere
Step 1 – Insert Thumbnail at the start of your video

Step 2 – Insert Music to the Timeline

Step 3 – Add Constant Power Crossfade Audio Transition to nicely end the music
Step 4 – Preview

Step 5 – Stick your Outro at the end

Step 6 – Go to File/Export/Media…

Step 7 – Choose Export Preset and Output Name

Step 8 – Add to Queue and press the green Play button in the top right corner

Preview the entire video and upload to YouTube, create a Blog Post and embed it there too!
If you have any constructive comments or suggestions, can’t wait to read them or just feel free to browse the rest of my portfolio for inspiration.


You must be logged in to post a comment.
Leave a comment